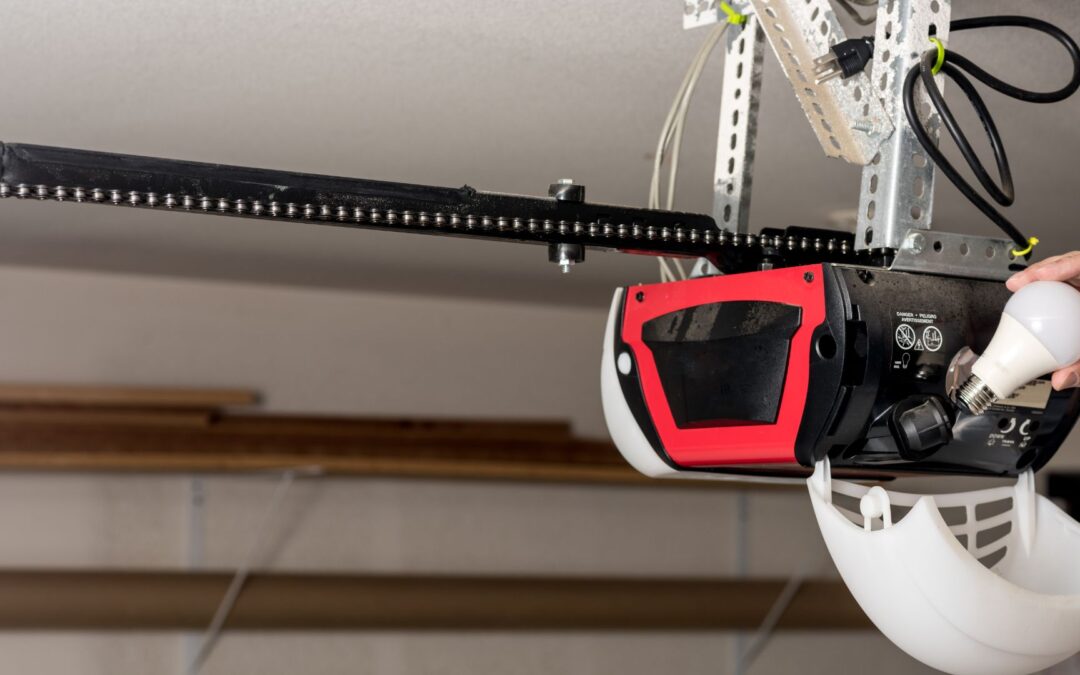
The modern-day garage door opener comes with an array of safety features, one of which is the use of safety sensors. However, there can be instances when the garage door refuses to close and the opener blinks ten times. Through this guide, we aim to demystify the troubleshooting process to ensure your garage door is back in operational mode.
Image Idea: An image showing a garage door sensor blinking with a garage door in the backdrop.
Understanding the Blinking Signs
The mechanism behind the blinking is quite straightforward. The garage door opener blinks ten times to indicate an issue with the safety sensors. These gadgets employ an invisible infrared light beam to detect obstructions in the garage door’s path. A common problem could be a blocked or misaligned sensor, defective wiring, or the sensors themselves being faulty.
Image Idea: A visual representation or diagram illustrating how the infrared beam works between the two sensors.
Step 1: Clearing The Obvious Obstructions
Begin by inspecting the garage door’s pathway for any obstruction. Removing the object that obstructs the sensors might solve the problem instantly. If nothing appears to block the sensors, checking their alignment should be the next step. A minor bump could misalign the sensors, causing the blinking.
Image Idea: Photos showing a before and after scenario where an object was removed from the sensor’s path.
Step 2: Checking Sensor Alignment
The safety sensors comprise a sending sensor (yellow light) and a receiving sensor (green light). The sending sensor transmits the infrared beam to the receiving sensor. Ensure the yellow light is on and check for the green light on the receiving sensor. If the green light is off, realign the sensors until the green light turns on and try closing the door.
Image Idea: Images showing the alignment process of the sensors.
Step 3: Delving into Error Codes
If the issue persists, look for error codes on the LED troubleshooting light on the motor unit. These error codes vary from a common chain-drive garage door opener to belt-drive models. Understanding these error codes is essential as they provide insight into the underlying issue, whether it’s a wiring fault, a misalignment, or sensor defect.
Image Idea: A table or diagram depicting different error codes and their meanings.
Step 4: Investigating Wiring and Connections
Check the wiring between your motor unit and the sensors for visible damage. Though not all wiring is accessible, especially if routed through walls, ensure to inspect what’s visible and repair any broken or damaged wiring.
Image Idea: A photo showing damaged wiring and another showing repaired wiring.
Step 5: Testing The Safety Sensors Directly
If the problem remains unresolved, testing your safety sensors directly at the motor unit is advisable. This test helps determine if there are defective sensors or a break in the wiring that’s not visible. The procedure involves disconnecting the sensors, stripping the wires, and reconnecting them directly to the motor unit for testing.
Image Idea: A step-by-step pictorial representation of the testing process.
Step 6: Replacing Defective Components
Should the testing reveal defective sensors, replacing them is the next logical step. If the issue lies within the wiring, replacing the existing wires might resolve the problem.
Image Idea: Images showing the replacement of sensors and wiring.
Conclusion: Dealing with a blinking garage door opener may initially seem daunting, but a systematic approach can help resolve the issue with ease. By following the steps outlined above, you can diagnose and rectify the problem, ensuring the safety and functionality of your garage door.
Image Idea: An image of a now fully functional garage door closing smoothly with a caption “Problem Solved!”.

Recent Comments